Using IncrediBuild in AWS
- IncrediBuild (Unlicensed)
- Shmuel Kaplan (Unlicensed)
- Dori Exterman
IncrediBuild enables you to scale infinitely to the cloud in a seamless manner. You and your development team may find yourselves in situations where you have urgent deadlines to meet and every second saved on build deployments counts. In these times of need, your best bet is to scale up the processing power by deploying cloud-based Virtual Machines. VMs running IncrediBuild Agents are easy to deploy and manage from AWS.
How to scale up with AWS and IncrediBuild
Hybrid Cloud and Pure Cloud Solutions
IncrediBuild can be used in a hybrid-cloud environment or in a pure cloud environment. The Coordinator can be placed on both an on-premise machine or on a cloud-based Virtual Machine. Thus offering you the flexibility of setting up your IncrediBuild infrastructure as you please.
Creating a VM instance on AWS
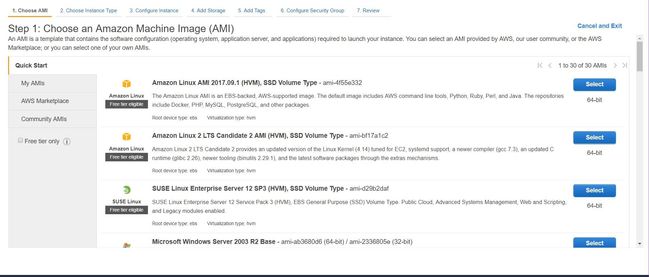
- Once logged into AWS create a Windows Virtual Machine instance from the AMI menu
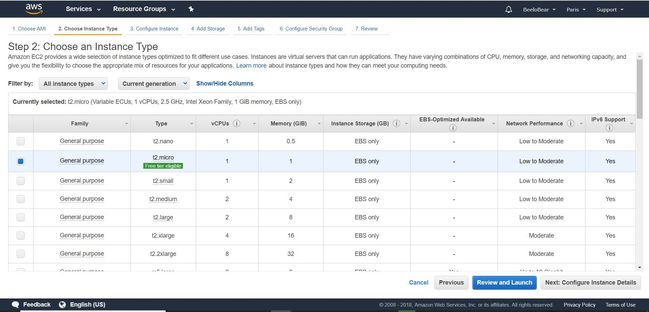
- Continue with the configuration steps for your instance. We suggest setting the Network Preference to high.
- Configure the Instance Details. You will need to set up a VPC in order to connect your instance to an on-premise machine.
For more information on how to set up a VPC head to the official AWS documentation on VPCs.
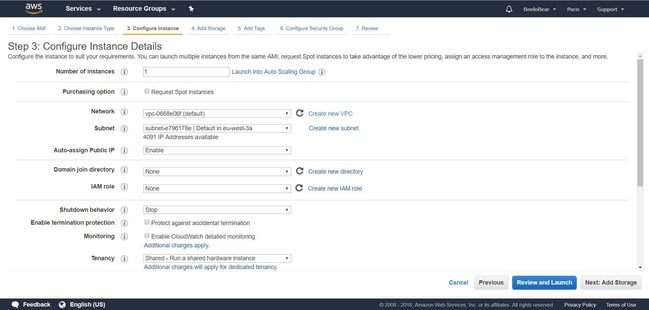
- You can continue customizing the VM instance, or if you already have your configurations ready, click on "Review and Launch."
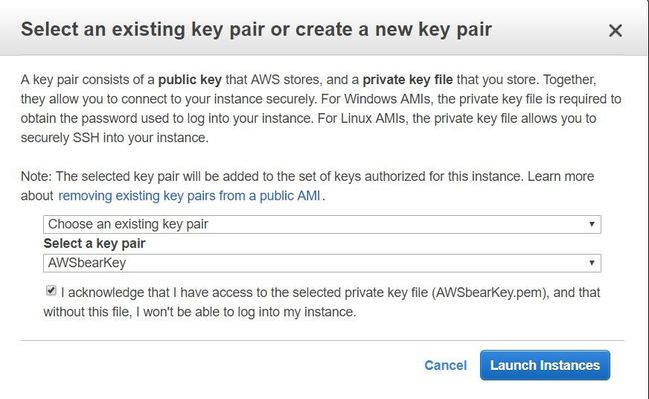
- You will need to either create a new key pair or use an existing one. You will not be able to login to your VM without a key pair.
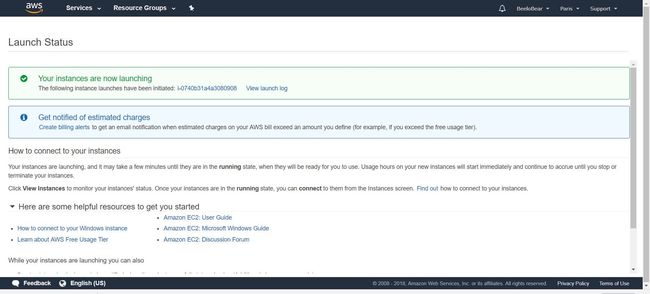
- Wait for the instance to launch.
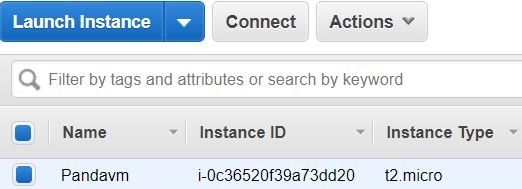
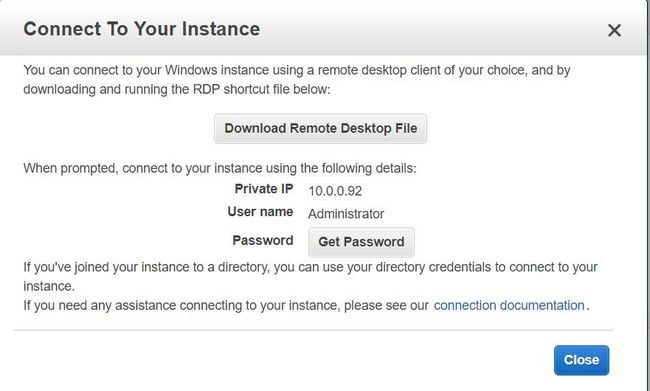
- Login to your VM by clicking on "Launch Instance" to either download the RDP file or to get the password and IP Address of the VM you would like to connect to.
- Now we can set up an IncrediBuild Agent on the VM.
Setting up an IncrediBuild Agent on your VM
Setting up an IncrediBuild Agent on your VM
Setting Agents up on a VM is done the same way you would setup Agents on your local network.
You have two key installation options:
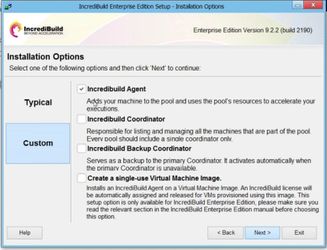
- IncrediBuild Agent option:
- With this choice, you will need to manually unsubscribe your license before destroying the VM instance.
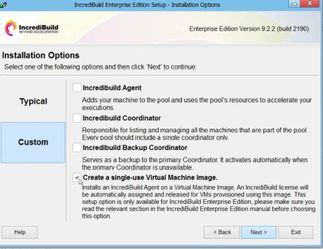
- Create a single-use Virtual Machine Image option:
- With IncrediBuild Enterprise Edition, we introduced this new installation option.
- Once a single-use VM image is created, it is automatically subscribed to a license from the Coordinator.
- Once the VM is destroyed, the license is automatically unsubscribed and returned to the Coordinator.
- With this feature, you can essentially set up one Virtual Machine with the single-use Virtual Machine image, copy the VM instance, and provision and de-provision VMs on the fly without needing to worry about license management.
- Open the IncrediBuild Setup file from the VM you would like to install an Agent on.
- From "Custom" you can either check the "IncrediBuild Agent" option or the "create a single-use Virtual Machine image" option.
The "Create a single-use Virtual Machine Image" option works only for IncrediBuild Enterprise Edition customers.
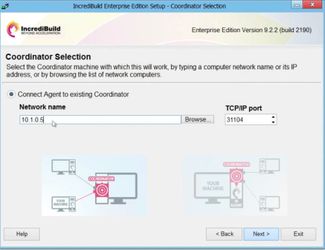
- Click Next and connect the Agent to an existing coordinator.
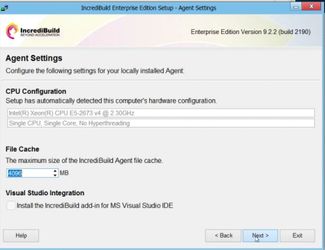
- Click Next and make sure of the Agent Settings.
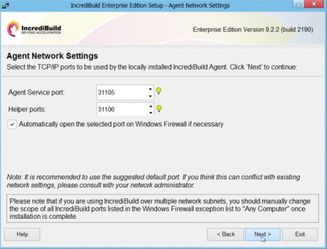
- Configure the Agent Network Settings. It is recommended to use the default ports unless there is a conflict on your network.
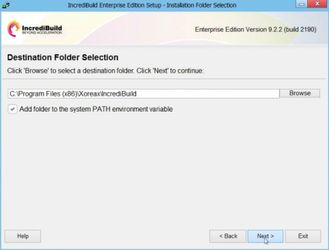
- Select the destination folder and click next to finish the setup process.
- You have successfully setup and deployed an IncrediBuild Agent on an AWS provisioned VM.
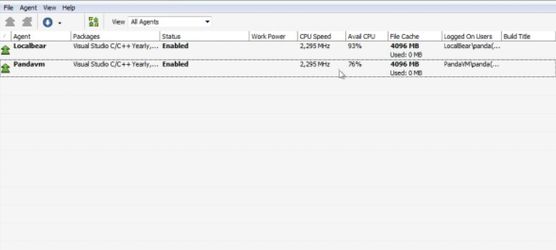
- Open the Coordinator Monitor to confirm that the connection has been made and that the Agent is subscribed with a license.

Use the command line to ping your VM's from different machines to make sure they can communicate. You can do it by typing "ping *IP Address of VM you want to ping*"
Create a single-use Virtual Machine instance Image
Instead of manually configuring your VMs and Agents all over again, simply create an image of the VM, so you can deploy the same image whenever you need to scale up. Since single-use Virtual Machines are automatically subscribed and unsubscribed licenses whenever they are created or destroyed. You won't need to worry about manually doing it yourself for every Virtual Machine you have provisioned.
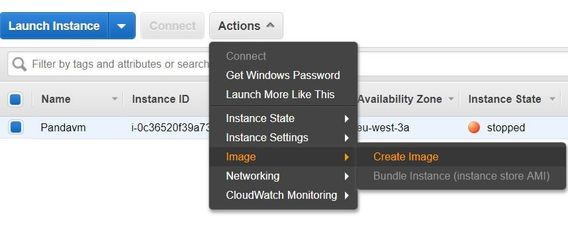
To do so:
- Click on "Actions"
- Hover over "Image"
- Select "Create Image"