...
On the machine that will host the Coordinator and an Agent, double-click IncrediBuild Setup file.
IncrediBuild Setup wizard appears.On the Welcome page of the Setup wizard, click Next:

On the Setup Options page, select Install IncrediBuild. Then, click Next:
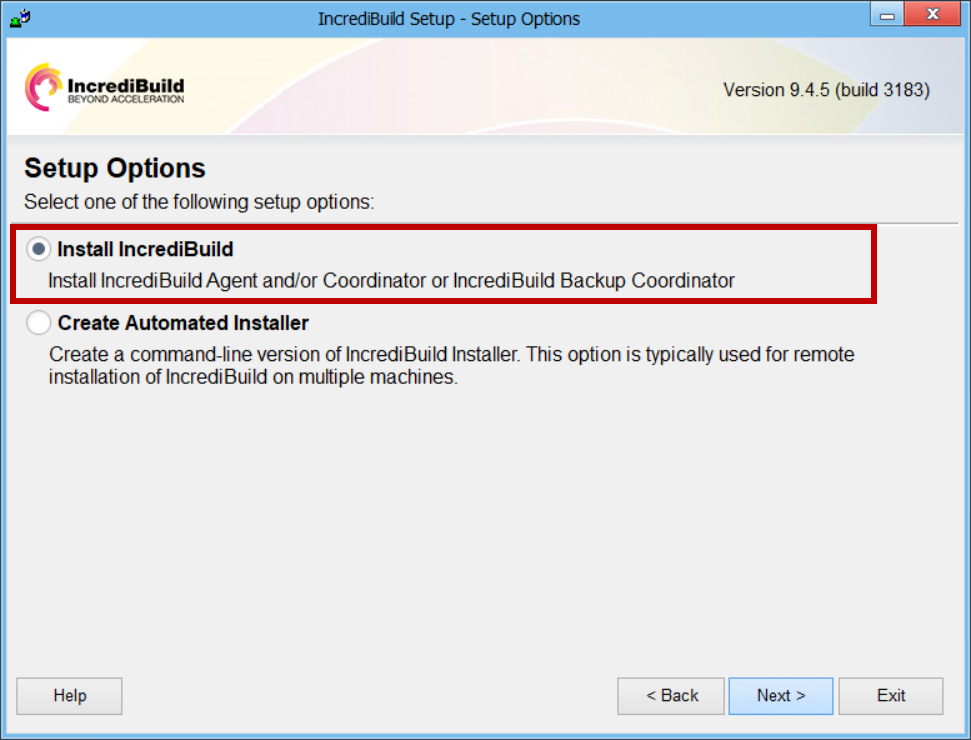

Note: The Create Automated Installer option allows you create a setup file for a silent installation. For more information, see Performing a Silent Installation
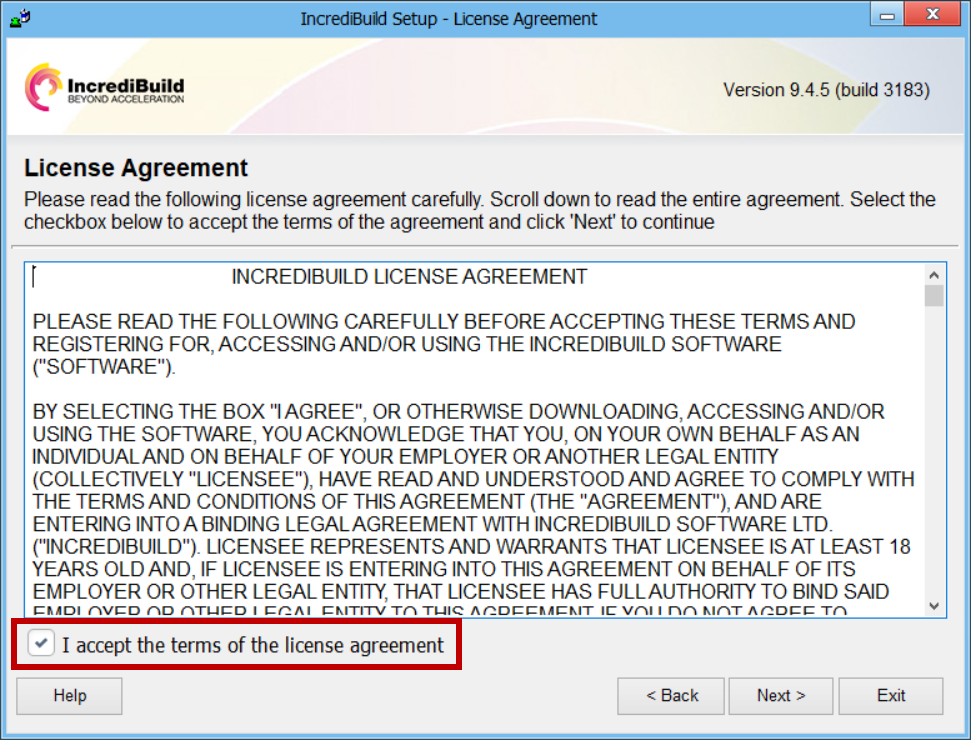
On the License Agreement page, read the terms of the agreement, and confirm them by selecting the I accept the terms of the license agreement check box. Then, click Next:

On the Installation Options page, verify that the Typical Installation is selected. Then, click Next:


On the Coordinator Selection page, select the Install new Coordinator component option. Then, click Next:

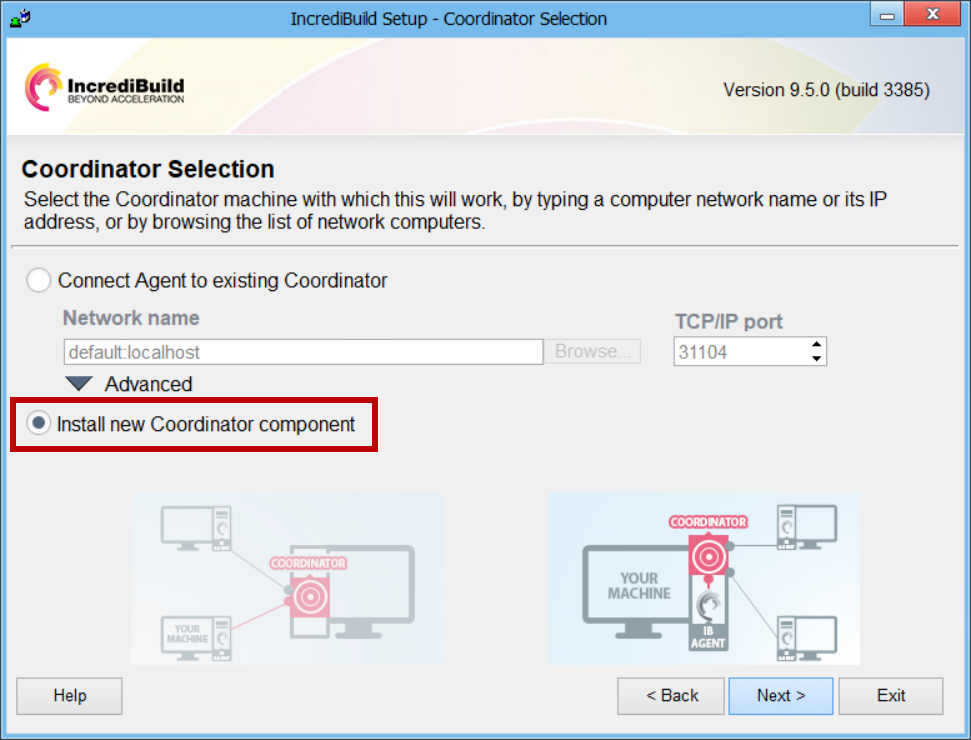
Note: You cannot install an Agent before you install a Coordinator.
On the Agent Settings page, accept the default values or set the following configurations for the installed Agent:

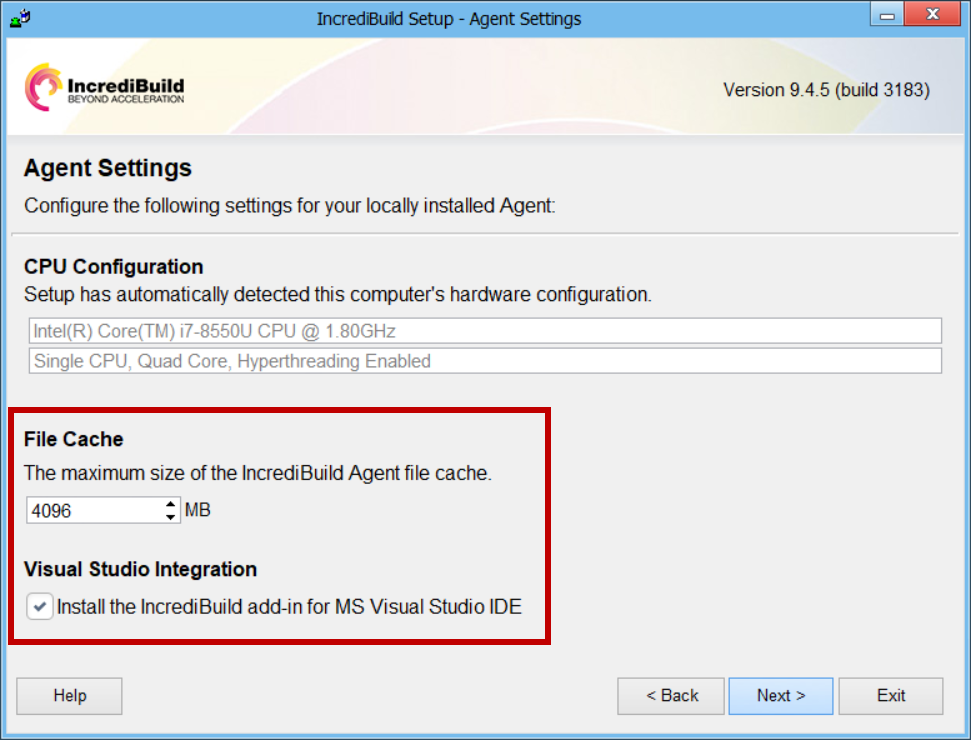
File Cache - specify the maximum size of the Agent file cache. This cache is used for storing on the local Agent the files that are transferred from remote Initiator Agents during build executions, and it is aimed at accelerating future builds.
Note: After the installation, you can change the cache size from the Agent Settings dialog box and the Coordinator Monitor.Visual Studio Integration –by default,the Install the IncrediBuild add-in for MS Visual Studio IDE check box is selected. This means that IncrediBuild Add-in (Extension) will be installed in your Visual Studio IDE, enabling you to run builds with IncrediBuild from Visual Studio. If you do not intend to use IncrediBuild with Visual Studio, you can clear this check box.
Notes:
- You will be able to install IncrediBuild Add-in in Visual Studio at a later stage, if required, from Visual Studio IDE.
- Starting from Visual Studio 2017, Add-in installation requires an online certificate signing by Microsoft. However, if you do not have an internet connection, you can still install IncrediBuild Add-in as part of the installation procedure. To perform this, install the latest IncrediBuild version available, which will automatically install an unsigned Add-in if the signed one will fail.
Once you verified the Agent Settings options, click Next.
On the Agent Network Settings page, accept the default values or set the following configurations for the installed Agent:

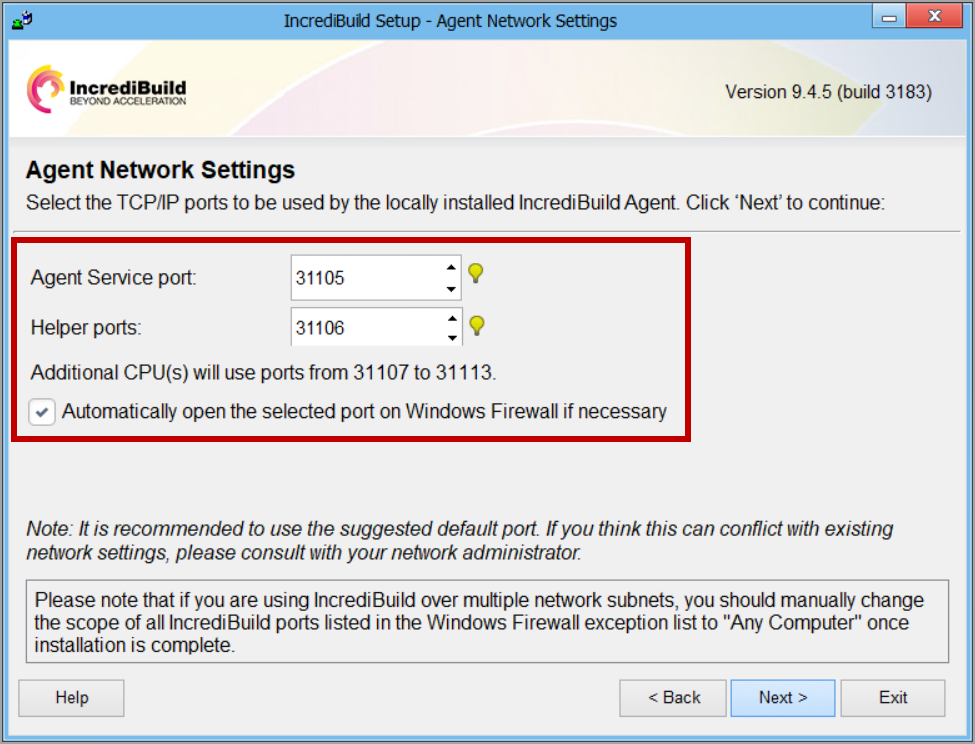
Select the TCP/IP ports to be used by the locally installed IncrediBuild Agent – change the default port numbers if your organization firewall is blocking the allocated ports, or if another product or application in your infrastructure is using them:
Agent Service port field – select the port number for the Service port of the Agent, which enables the communication between the installed Agent and the Coordinator.
Helper ports field – the Helper ports enable the communication between the Initiator Agents in your IncrediBuild Environment and the installed Agent cores. Select the first port number in a port range, to be used when the local machine contributes its idle cores to other machines that initiate tasks.
For each available core in the installed Agent machine, a port number in a consecutive order should be open and available. For example, if the first port number in the range is 31106, and the Agent has 4 cores, 3 additional ports should be open: 31107, 31108, 31109.
Automatically open the selected port on Windows Firewall if necessary check box - when this option is selected, if the port numbers that are specified for the Service and Helper ports of the Agent are closed in your firewall, IncrediBuild will automatically open them.
Once you verified the Agent network settings, click Next.
On the Coordinator Network Settings page, accept the default values or set the following configurations for the installed Coordinator:
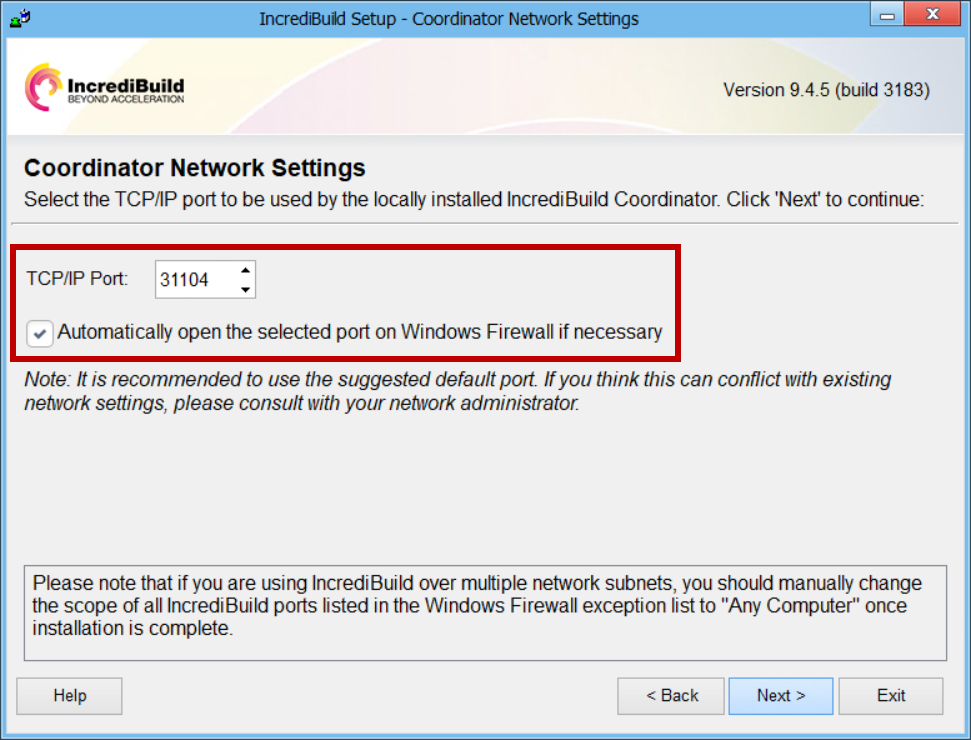

TCP/IP port field - select the TCP/IP port to be used by the installed Coordinator for the communication with the Agents. If there is a conflict between your network and the default port number, change the default value to a different port number.
Automatically open the selected port on Windows Firewall if necessary check box - when this option is selected, if the port number that is specified for the TCP/IP port of the Coordinator is closed in your firewall, IncrediBuild will automatically open it.
Once you verified the Coordinator network settings, click Next.
On the Destination Folder Selection page, leave the default settings or perform the following:

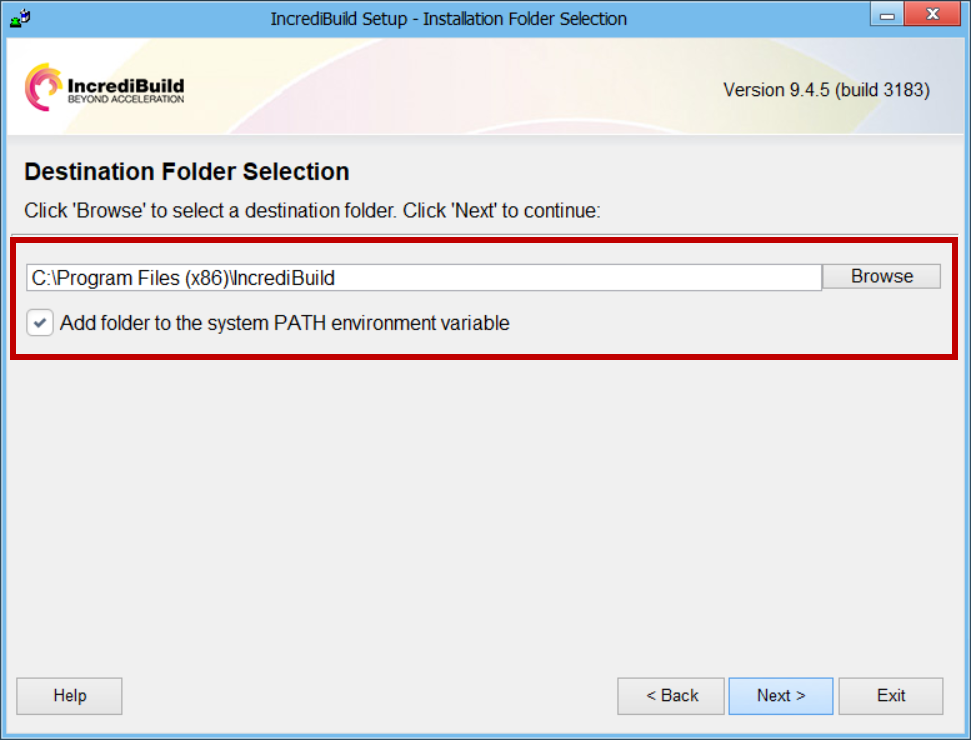
Destination Folder field - if you want to change IncrediBuild installation folder, click the Browse button, and select your desired installation location.
Add folder to the system PATH environment variable checkbox - it is recommended to leave this check box selected, in order to ensure that there is a direct link from the CLI to IncrediBuild tools, eliminating the need to specify the full path of their installation folder.
Once you verified the destination folder selection, click Next.
On the Ready to Install page, click Next to start the installation of the Coordinator and Agent on your local machine:
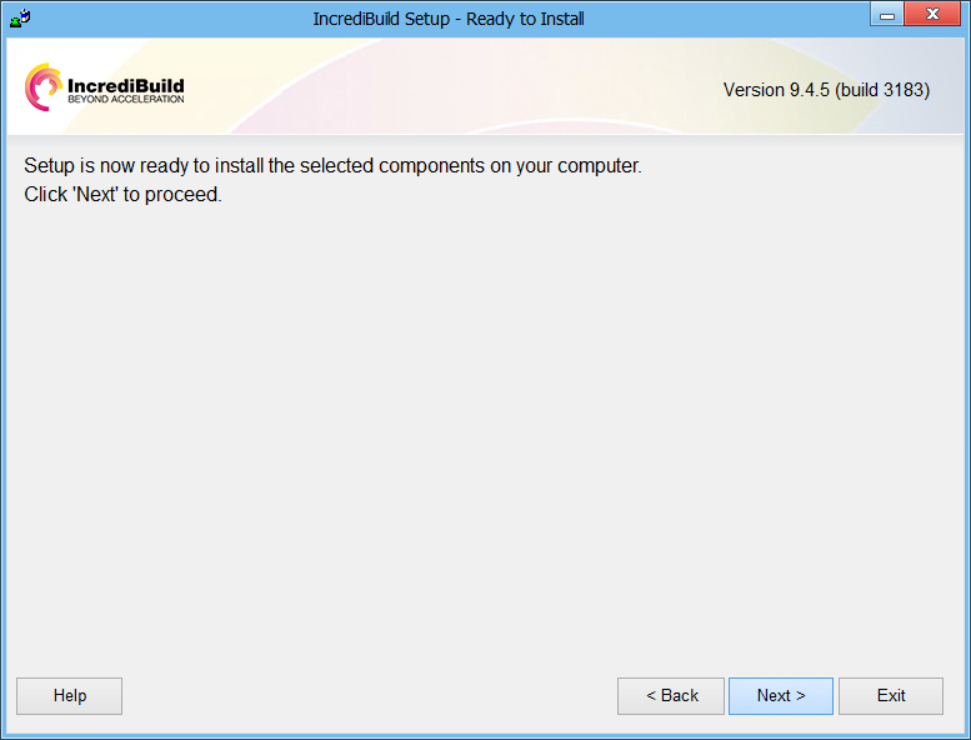

The installation process begins, and a progress bar appears, informing you of the progress of the installation:
Once the installation is finished, the License Installation page appears.On the License Installation page, you can either load your license to activate IncrediBuild, or postpone the license loading to a later stage, and complete the Coordinator installation without a license:

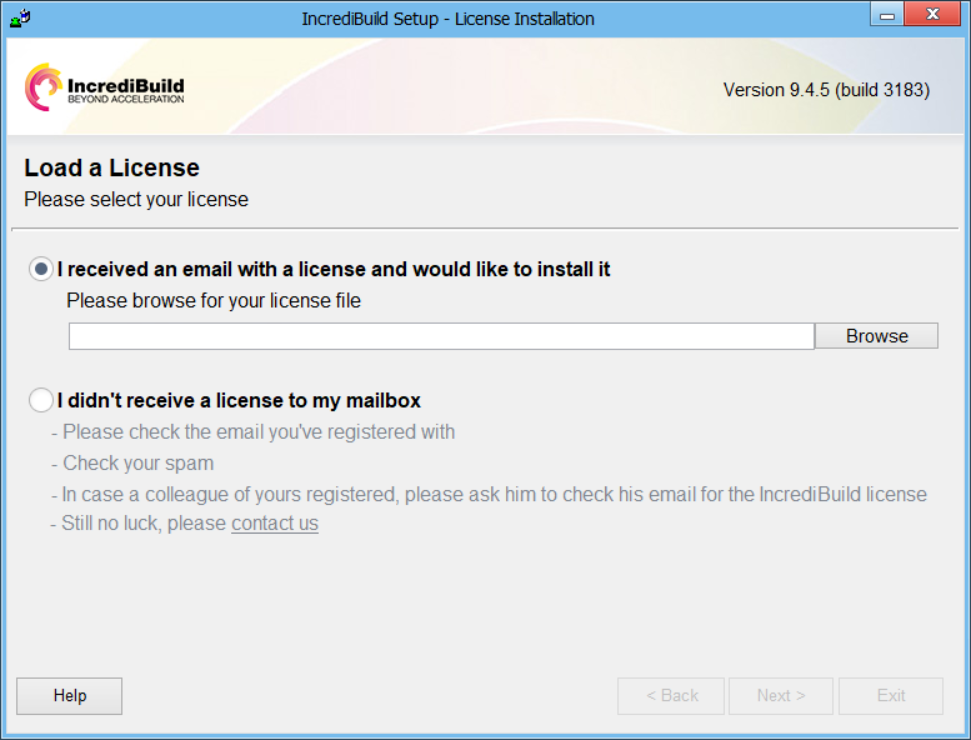
To load your license now - select the I received an email with a license and would like to install it option.
Note: Before loading your license, verify that the machine hosting the Coordinator is connected to the internet, in order to register the license.
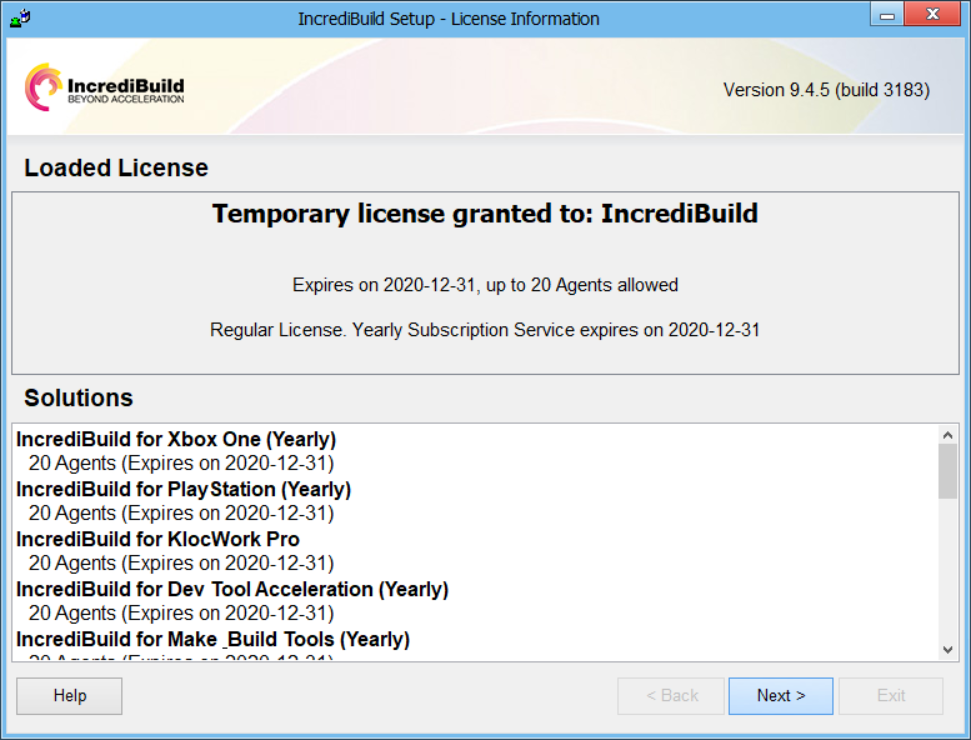
After you selected to load your license now, click the Browse button to locate your License File and load it. Once the License File is loaded, you receive a confirmation that your license is loaded successfully, and the details of your license appears on the page:
To load your license later – select the I didn't receive a license to my mailbox option.
Note: For more information on loading the license after the Coordinator installation, see Activating Your License
Then, click Next.
The Install complete page appears, confirming that the selected IncrediBuild components have been successfully installed:
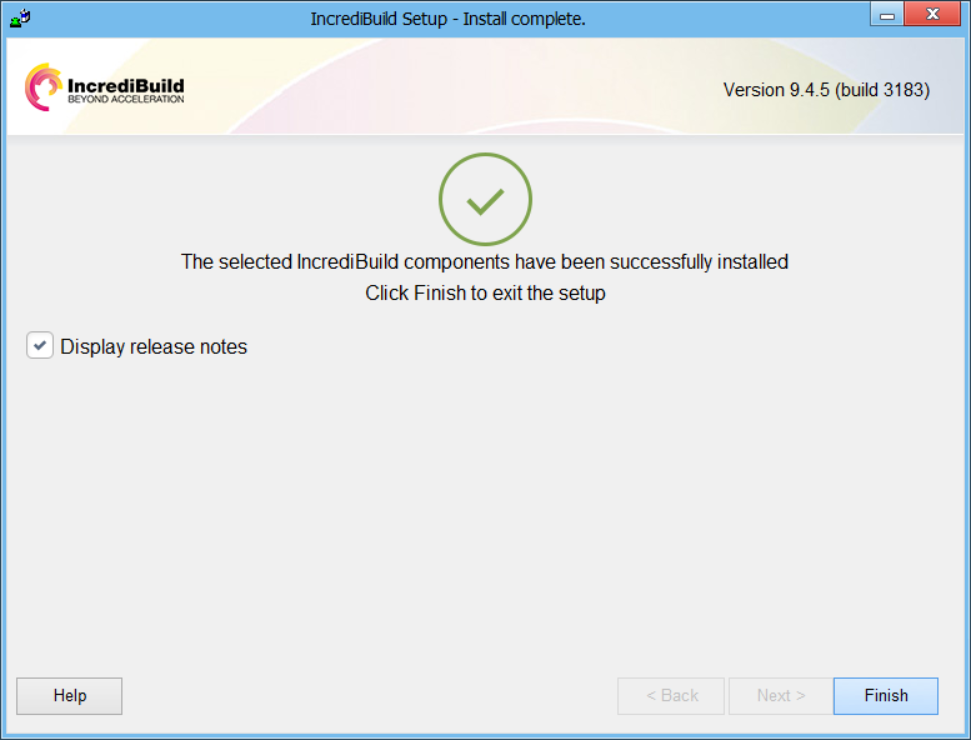

Click Finish to exit the Setup wizard.
...